|
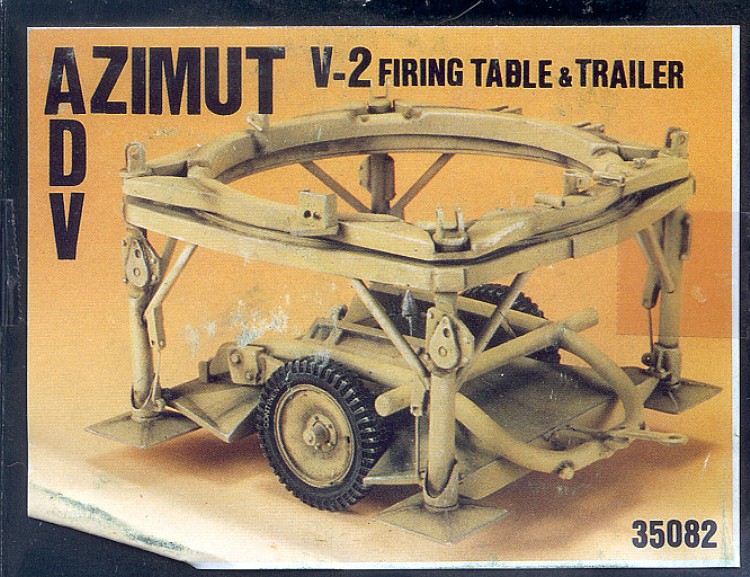
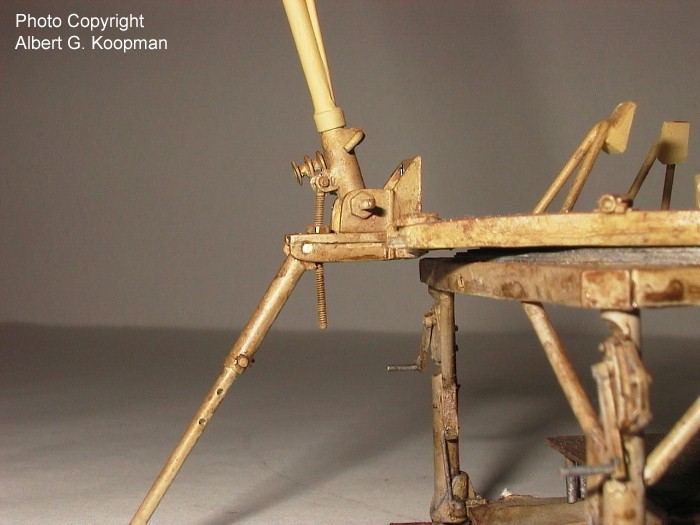
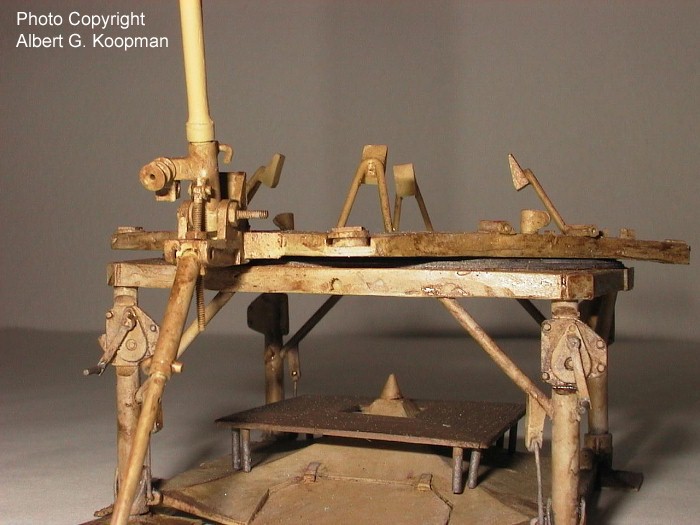
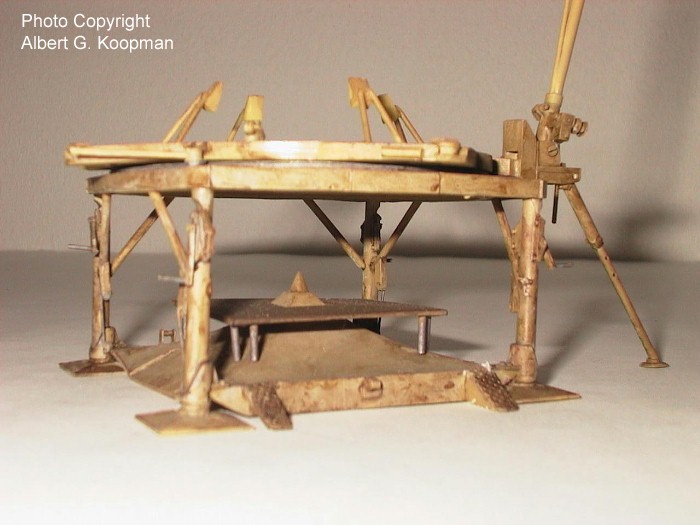
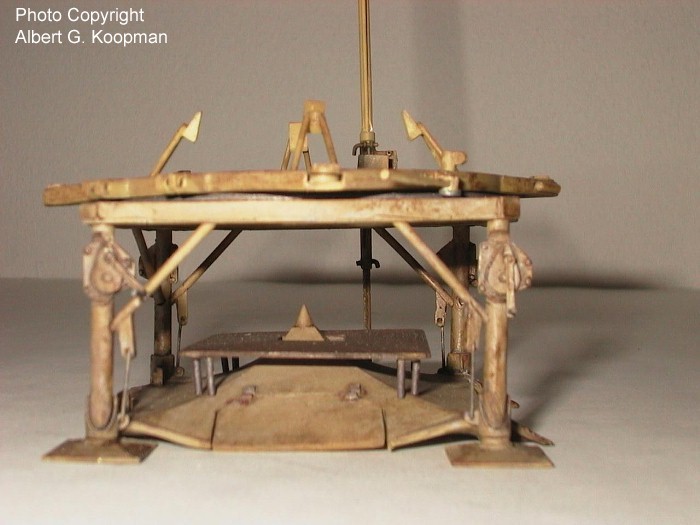
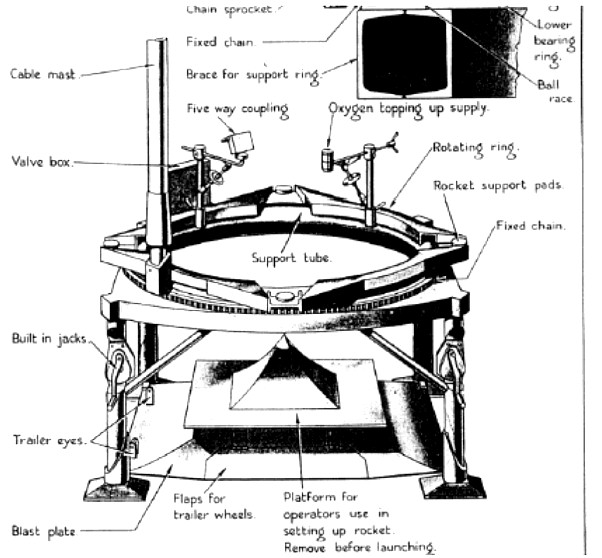
THE ABSCHUSSPLATTFORM (Firing Table)
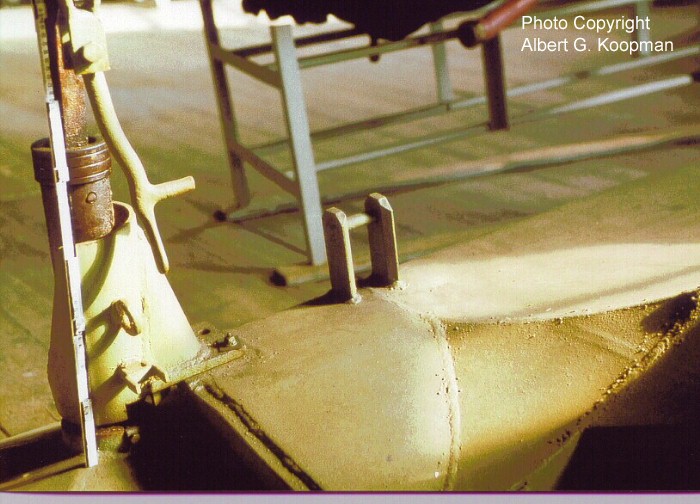
Then, there
are some connections on the bottom of the rocket between fins 2/3 and 1/4
that must be completed. Between fins 1/4 is a connection for replentishing
the oxygen (Fibel page 53) when the tank is fully fueled and waiting for
launch. Between fins 2/3 there are 4 connections (Fibel
page 40) for measuring some pressures inside the rocket system,
and one for the pressurized air 200 atm to keep the V2's air system under
pressure. Look for those connections to the Munich
photo page. Be sure to include the jet-rudder brackets (Fibel
page 64) for needed detail.
Also missing is a small cabinet (Fibel page 39) for measuring the pressures of the rocket and the holder for the fire extinguisher bottle. So, when using this firing table you have a lot of scratch building to do. Today there are in museums all over the world that show the firing table in a wide variety of colors, just forget these colors that came out of the "mind of the museum staff". In the early 70's, when I visited the famous Armentatium at Delft, in the Netherlands, their Abschussplattform was still in its original color German-Yellow (Humbrol color number 83 German overall sand). Since then, it was painted by the museum staff and when you look at it now, it is in a blue-grey color, it is a pitty (Delft Abschussplattform). (Below 3 photos of Delft Leger Museum Abschussplattform in original paint)
For those that build the Revell / Dragon model of the V2; the Dragon firing table is not a design that was used by the V2 firing troops. It may be patterned after an early Peenemünde table or possibly one at WSPG.
NOTICE: there is an error in the drawing for the Revell firing
table instructions.
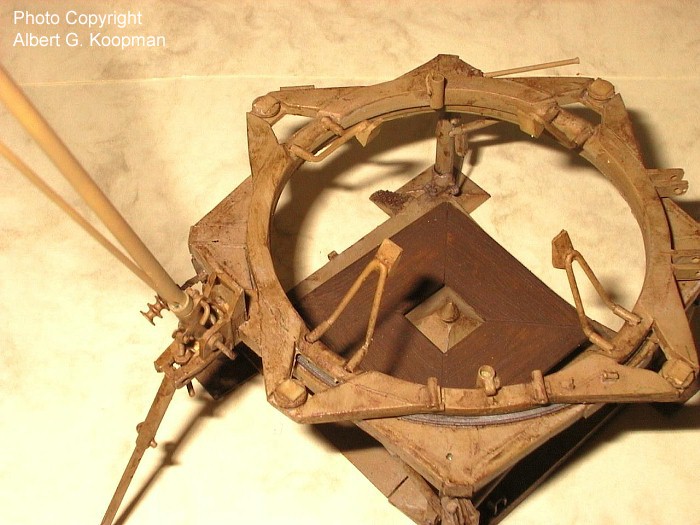
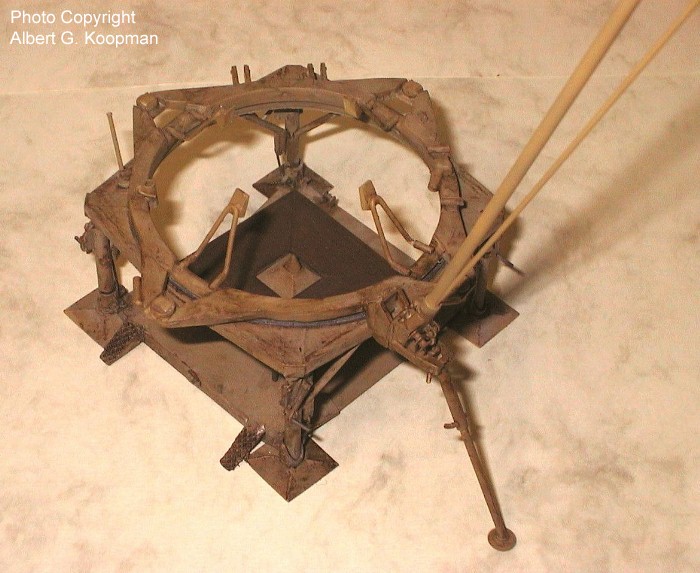
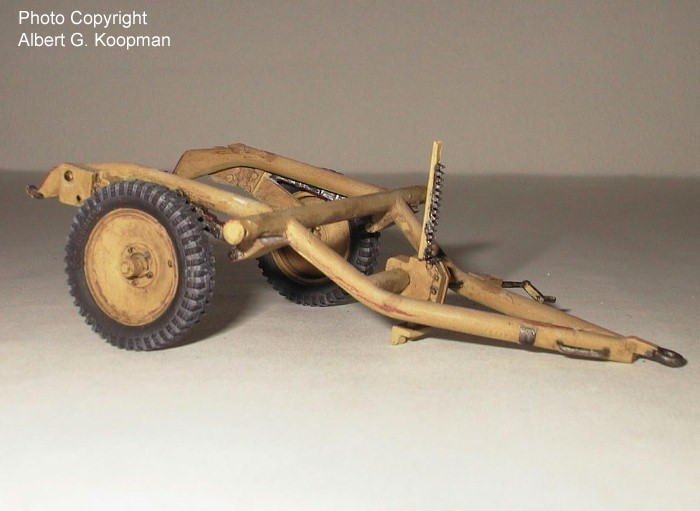
The trailer/dolly of the Abschussplattform is also completely made out of resin, with 3 parts of metal wire. The construction is very easy because there are just a few parts involved, but watch out the outer side of the wheels - must made correct otherwise the trolly does not fit between the entry of the abschussplattform. There is just something really wrong in this model that are the points where the wings of the V2 have to stand on, these are flat and there are no flangs on it. Notice the top point of the Azimut drawing. Now the last and biggest trouble - the cable mast. I just have a pencil drawing of the holder it made in the Armentarium at Delft, and the pictures I made for the construction (pic 1) (pic 2) and there are still questions about some of the functions on the mechanism. Take a good look at the original pictures on this site, and the drawings before you start with the construction. All these "home-made" parts need to be fabricated out of scrap parts, with brass-metal and some plastic profiles. As you see in the pictures of the model, some parts are not yet in place, because they need to fit to the connections on the rocket model and that model is still under construction. Another part under construction is the cable mast, mainly for the same reason. These will be added in time. Now the final touch - the painting (this description can be used for all vehicles). In the ending phases of the war, the German army vehicles got a basic color of overall sand (Humbrol No. 83) out of factory. In the field, they got the necessary other camouflage colors with - German camouflage Red Brown (Humbrol No. 160) and / or German camouflage Medium Green (Humbrol No. 86). In the winter, even a white-wash. For the rubber tires we use not black paint but a very dark grey/black color (Revell No. 9). Then, there are a lot of finishing techniques for weathering the models that are described in model building books - as an example: the books of Verlinden in "The Verlinden Way". For the finishing of the models, I use an airbrush from Revell / Airbrush, the MASTER-plus 950 IDG and an Olympos Young. For the final finishing and "dry-brush technique" I will use the colors of Vallejo (this is a waterbased model paint). ABSCHUSSPLATTFORM | OPEL BLITZ | HANOMAG SS-100 | FEUERLEITWAGEN |